BYD Orders 10 More Vessels with Capacity for 9,200 Cars Each to Fuel Global Expansion

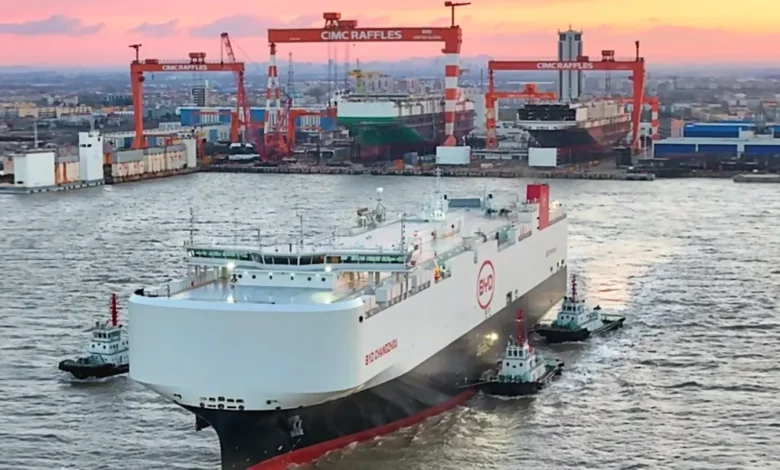
Chinese electric vehicle giant BYD is aggressively scaling up its maritime logistics capabilities to support its rapid international expansion. According to recent reports from industry chain sources and Middle Eastern maritime publication Robban Assafina, the automaker has placed a massive new order for ten additional pure car and truck carriers (PCTCs). Each of these colossal vessels will feature a carrying capacity of 9,200 car equivalent units (CEU), further cementing BYD’s strategy to control its entire export supply chain rather than relying exclusively on third-party commercial shipping lines.
This latest round of vessel acquisitions highlights the staggering momentum behind Chinese automotive exports, particularly for new energy vehicles (NEVs), which encompass both battery-electric vehicles (BEVs) and plug-in hybrid electric vehicles (PHEVs). As traditional global shipping lanes experience capacity crunches and soaring charter rates due to unprecedented demand, major manufacturers like BYD are taking matters into their own hands. By investing heavily in a proprietary, liquefied natural gas (LNG)-powered fleet, BYD is insulating its international supply chain from external bottlenecks while simultaneously optimizing transportation costs.
The Evolution of BYD’s Proprietary Shipping Fleet
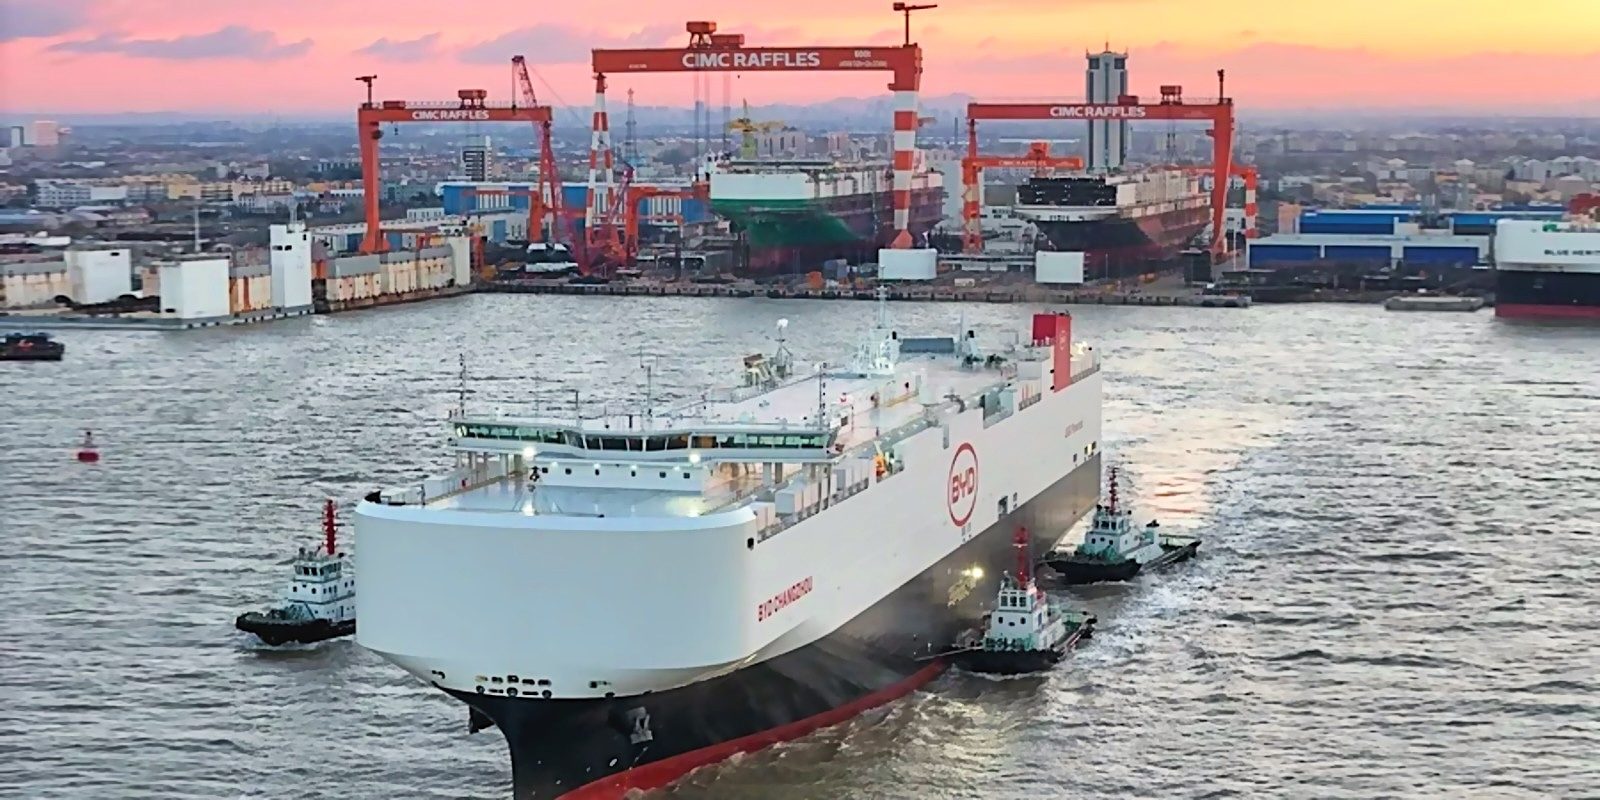
The genesis of BYD’s maritime strategy began to take tangible shape when the company launched its flagship transport vessel, the BYD Shenzhen. Setting sail on its maiden voyage, the massive ship introduced a staggering capacity of 9,200 parking spots—an interior area roughly equivalent to 20 professional football fields. At the time of its launch, the Shenzhen claimed the title of the world’s largest car transport ship, signaling a paradigm shift in how vertically integrated automakers intend to conquer foreign markets.
Prior to this latest reported order of ten vessels, BYD had already begun assembling a formidable fleet to transport its vehicles across oceans to hungry markets in Europe, South America, Asia, and beyond. With the integration of these ten new 9,200-CEU carriers, industry analysts estimate that BYD’s total owned or commissioned fleet will expand to 18 LNG-powered vessels. Combined, this specialized armada will possess the jaw-dropping capability to transport more than 130,000 vehicles simultaneously across the globe.
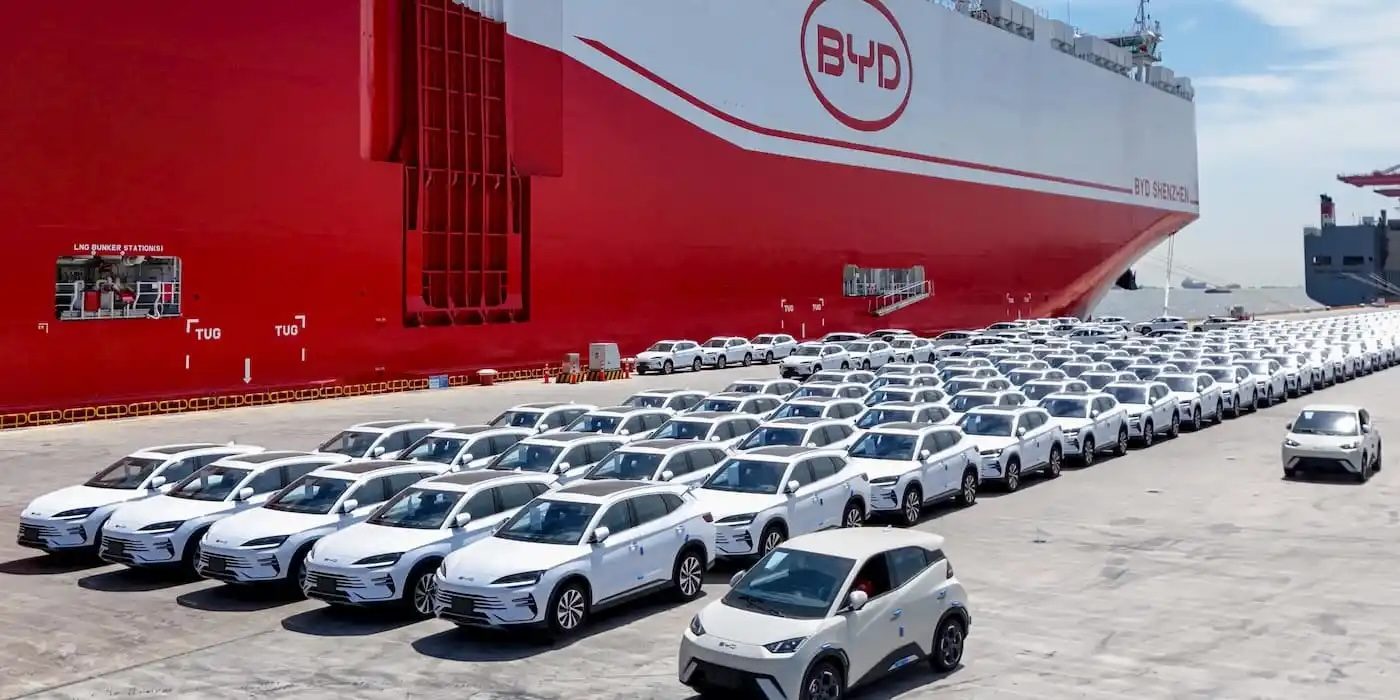
The decision to power these colossal ships with LNG aligns with broader international maritime regulations aimed at reducing sulfur oxide and particulate emissions, allowing BYD to market its logistics operations as comparatively more environmentally sustainable than traditional heavy-fuel oil carriers. Furthermore, owning the vessels gives the company absolute control over transit schedules, delivery windows, and geographic deployment priorities, ensuring that cars roll off production lines in China and arrive promptly at foreign distribution hubs.
Explosive International Sales and Market Penetration
BYD’s unprecedented maritime investments are directly tied to skyrocketing demand for its vehicles outside of mainland China. The automaker’s international sales trajectory over the past year has broken numerous records, transforming the brand from a domestic powerhouse into a formidable global competitor.
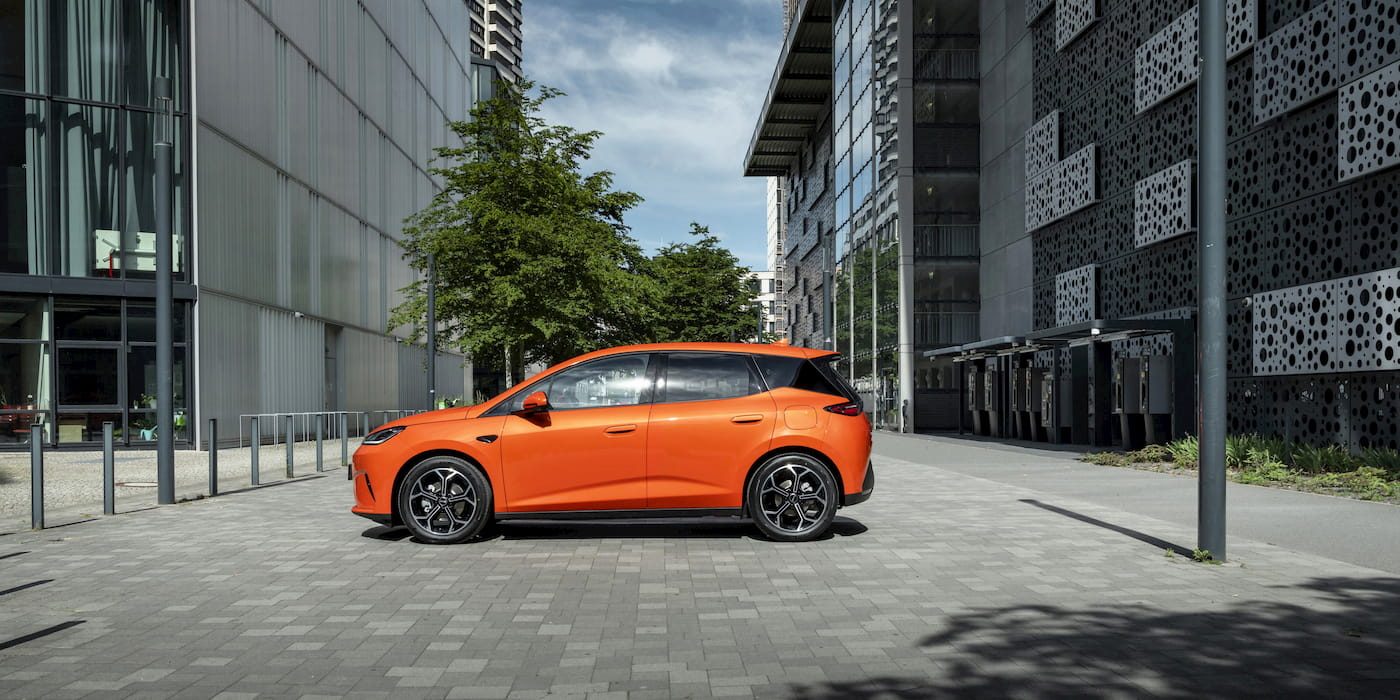
In the United Kingdom, where the brand officially launched its passenger vehicle operations in March 2023, adoption has been swift. By September 2026, BYD had registered more than 110,000 vehicles in the UK alone. The growth rate has been particularly striking in recent months; through August, BYD’s UK registrations surged by an astonishing 98% year-over-year, with over 48,000 vehicles registered during that period. Consequently, BYD now commands a 3.48% slice of the UK’s competitive new car market, nearly doubling its 1.92% market share from the same timeframe the previous year.
A parallel push is underway across continental Europe. BYD has steadily rolled out an extensive lineup tailored to European tastes, highlighted by the introduction of updated models such as the eagerly anticipated Great Seagull EV variant, which made waves earlier this year at the Chengdu Auto Show. By offering competitive pricing, advanced battery technology, and diverse powertrain options, BYD has successfully captured the attention of budget-conscious and eco-conscious European consumers alike.
Export Statistics and Global Production Scale

The sheer volume of vehicles leaving Chinese ports underscores the urgency behind BYD’s maritime expansion. According to data compiled by CarNewsChina, BYD exported a remarkable 184,000 passenger vehicles from China in a single month. This figure represents a 131% surge compared to the same period in the previous year and a more than 6% increase over the preceding month. Within the broader context of China’s automotive sector, BYD alone accounted for 35.4% of the nation’s total passenger NEV exports.
On a cumulative basis, BYD’s overseas shipments reached 1,127,000 vehicles through the first eight months of the year. This milestone translates to a staggering year-over-year growth rate of nearly 90% compared to 2025. To sustain this velocity without facing crippling logistics bottlenecks, expanding the company’s dedicated shipping capacity from a handful of experimental vessels to a massive, multi-ship global fleet became an operational necessity.
Industry Implications and Geopolitical Trade Dynamics

BYD’s aggressive shipbuilding campaign carries profound implications for the global automotive and shipping industries. For decades, traditional automakers relied heavily on independent maritime logistics providers—such as Norse, Japanese, and European shipping conglomerates—to transport finished vehicles overseas. However, the post-pandemic recovery exposed severe vulnerabilities in global supply chains, characterized by a acute shortage of Pure Car and Truck Carriers (PCTCs) and exorbitant charter rates.
By constructing its own fleet, BYD has effectively insulated its export-driven business model from external market volatility. Other major Chinese automakers, including Chery and SAIC Motor, have similarly begun investing in proprietary shipping fleets, signaling a structural transformation in how vehicles are exported from Asia.
At the same time, this rapid surge in Chinese EV exports has drawn intense scrutiny from regulatory bodies in key Western markets. The European Union and North American authorities have implemented or proposed various tariff measures and trade investigations aimed at neutralizing perceived unfair advantages enjoyed by subsidized Chinese EV manufacturers. Despite these regulatory headwinds, consumer demand in foreign markets remains robust, and BYD’s multi-billion-dollar bet on maritime infrastructure demonstrates that the company is fully prepared for a long-term, high-volume global trade strategy.

Looking Ahead: The Future of BYD’s Global Supply Chain
As the construction of these ten new 9,200-CEU carriers gets underway, the timeline for their ultimate delivery will coincide with BYD’s projected peak export years later this decade. With a combined fleet capacity exceeding 130,000 vehicles, BYD will possess a distinct logistical advantage over legacy automakers who are still transitioning their supply chains toward sustainable, vertically integrated models.
Ultimately, BYD’s ongoing transition from a regional manufacturing titan into a truly borderless multinational corporation will rely heavily on the efficiency of its supply chain. By securing the world’s largest transport ships and multiplying its fleet size, BYD is ensuring that its vehicles can reach international shores swiftly, reliably, and at a scale that few competitors can currently match.